New introduction to the (unofficial) University of Manchester Beamer Theme
Some time ago I put together a Beamer theme for the University of Manchester that tried to stay as close to the “official” PowerPoint theme as possible. It’s been some time since I wrote the introduction to using the theme and to account for some of the changes that have happened since (and to christen the new blog) I thought I’d rewrite the installation guide.
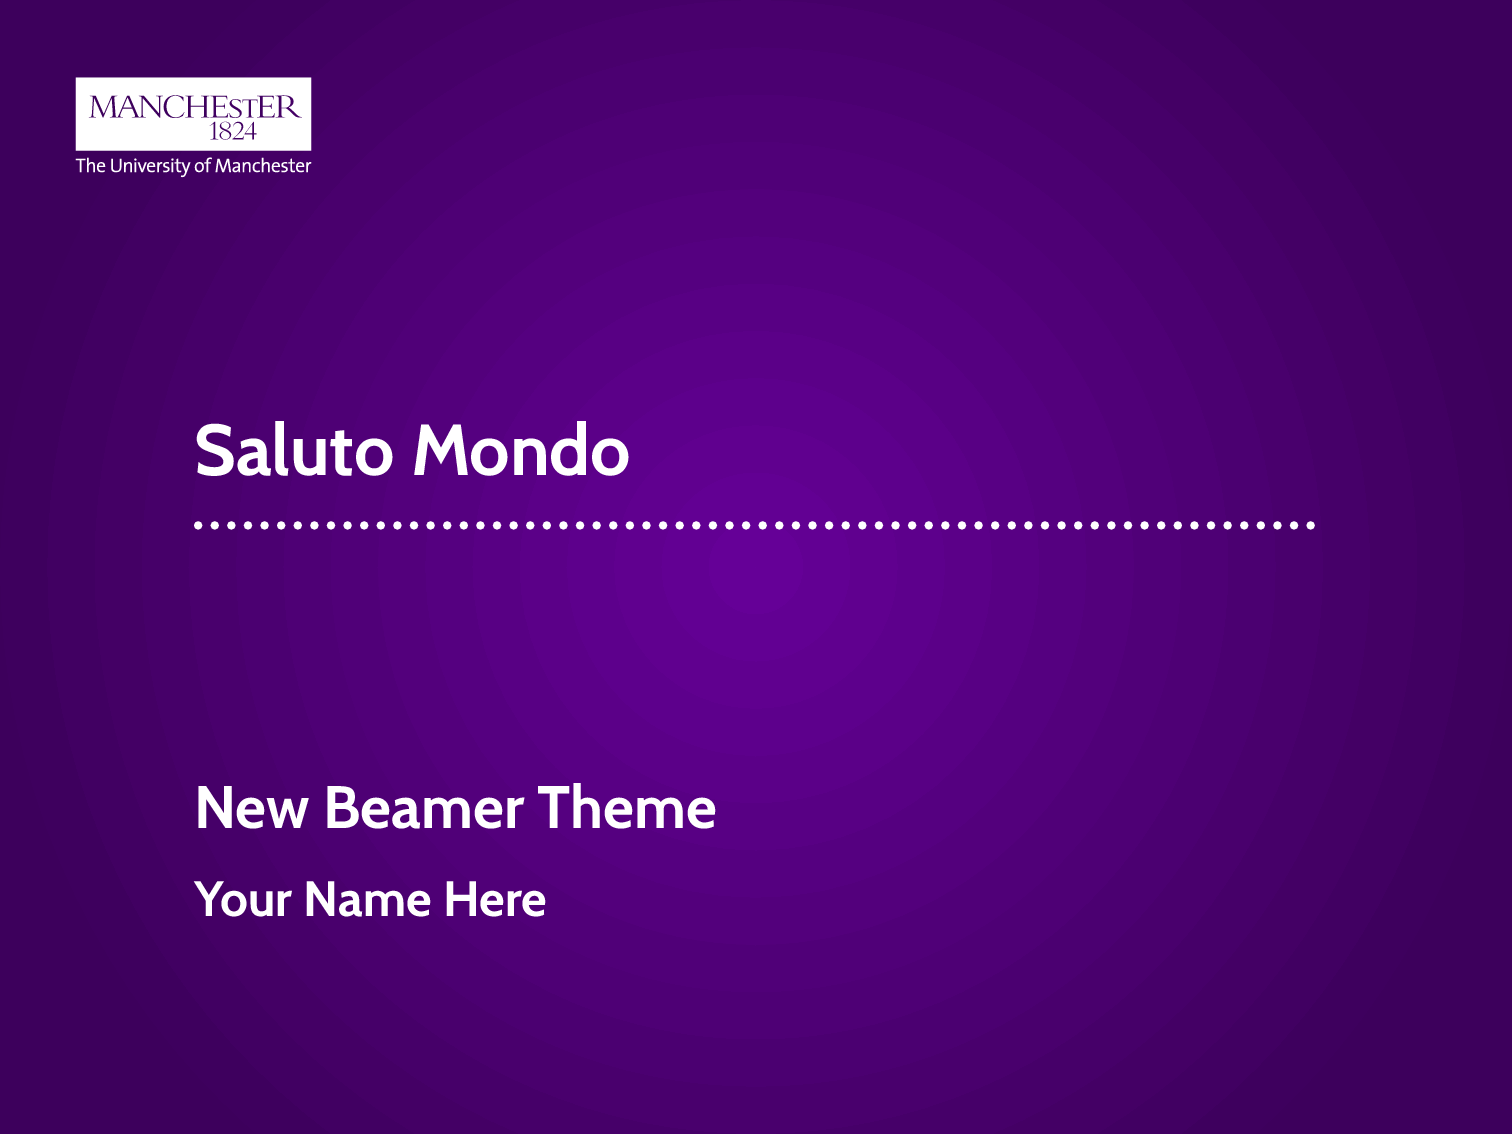
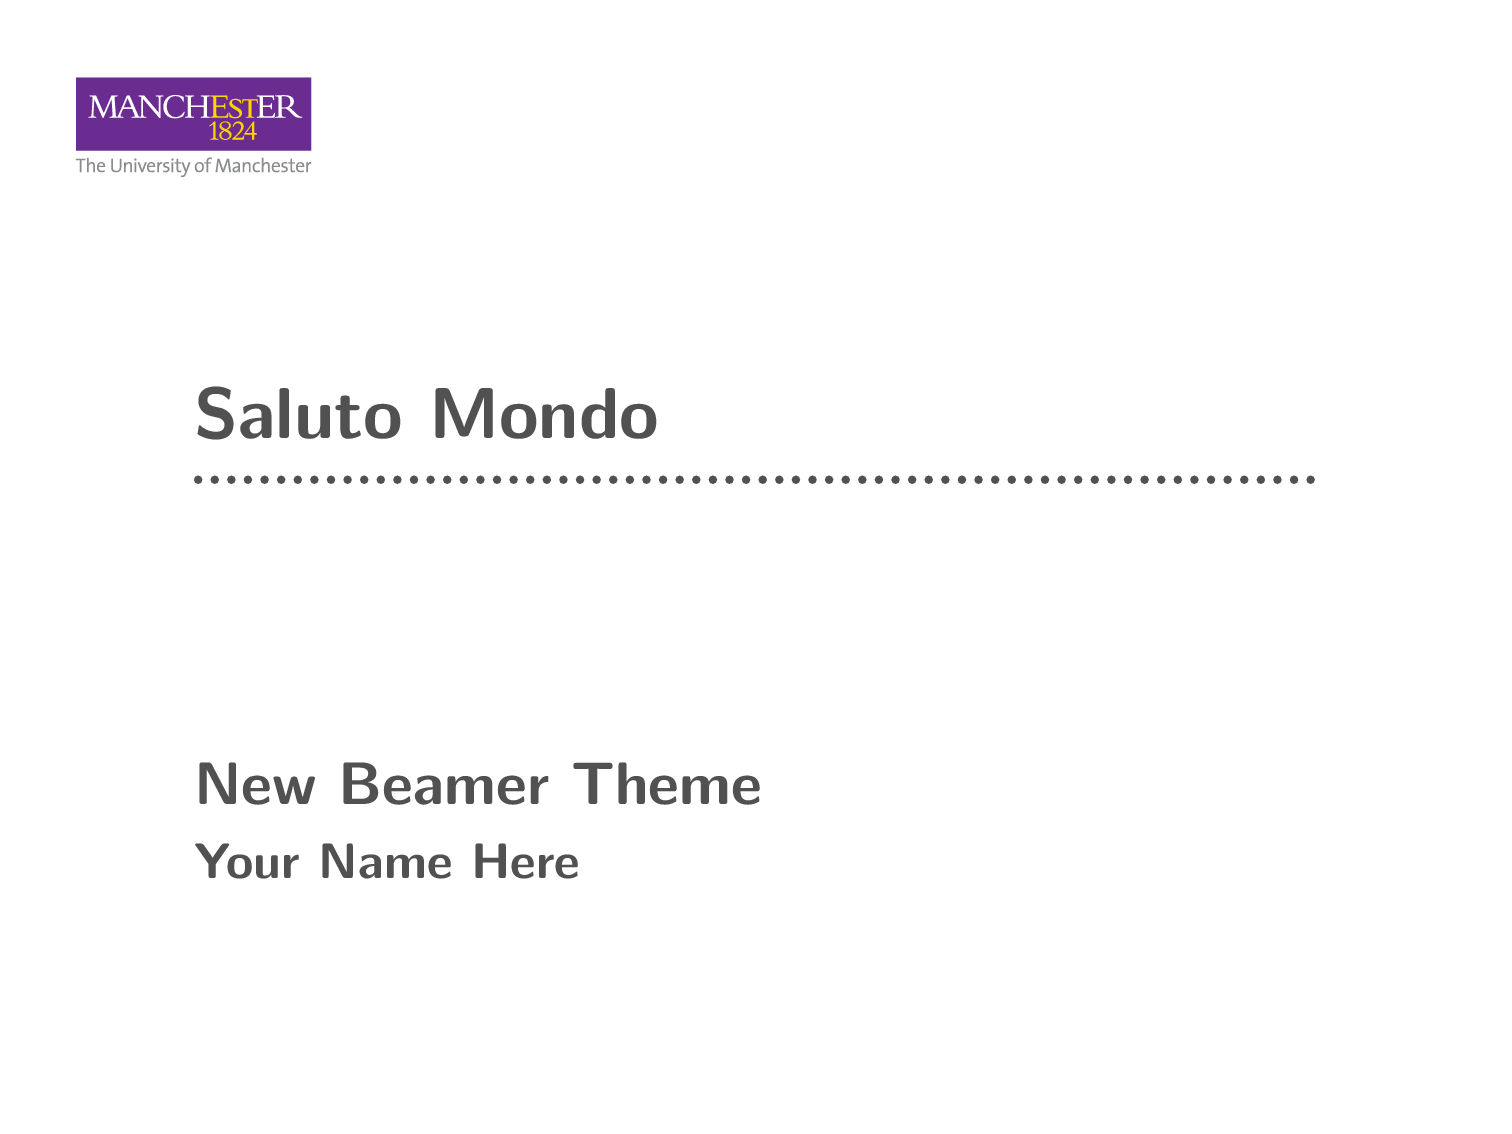
The presentation we’ll end up with should look something like the following:
Why Beamer? Why this theme?
Firstly, why would we want to use Beamer over PowerPoint? A lot of this comes down to personal preference but I’ve found that as I write all my reports and papers in LaTeX it makes sense to use the same toolchain for presentations as well. In addition I often use TikZ for my diagrams and using Beamer makes reusing diagrams between reports and presentations dead simple.
Not only this, but I believe that Beamer results in better looking slides…
Given the huge array of Beamer themes out there why would you choose to use this one? Assuming you represent the University of Manchester in some way it seems sensible to include appropriate branding in presentations. Of course you could equally well use Mark Kambites’ Beamer theme. Personally, however, I feel this theme is slightly smarter besides matching the official PowerPoint theme. Who doesn’t want to introduce themselves in front of a completely purple screen?
Getting the theme
So how do we go about getting the theme? The instructions here are really for Linux only, they might work on a Mac, possibly work in Cygwin and will almost definitely NOT work on Windows. (For installation on Windows see a following post.)
Assuming you have TeXlive (or similar) and Beamer installed, we begin by creating a personal directory in which we can store TeX packages.
Opening the terminal type in the following lines without the $ and preceding
space.
$ mkdir -p ~/texmf/We specifically want to store our theme in a subdirectory of texmf which we
create and switch to with:
$ mkdir -p ~/texmf/tex/latex/beamer/themes/
$ cd ~/texmf/tex/latex/beamer/themes/
We can now choose to checkout the theme with Git, or to just download a zipped version of the appropriate release.
Using Git
If you have Git installed you can clone the repository including the theme. You can then use Git to keep your installed copy of the theme up to date.
Getting the theme is as simple as:
$ git clone https://github.com/mundya/unofficial-university-of-manchester-beamer.gitUpdating is just:
$ cd ~/texmf/tex/latex/beamer/themes/unofficial-university-of-manchester-beamer
$ git pull
Downloading a release
If instead you just want to download a working copy of the theme you can do so with curl.
$ curl https://github.com/mundya/unofficial-university-of-manchester-beamer/zipball/master > uuomb.zip
$ unzip uuomb.zip
$ rm uuomb.zip
Completing the installation
Regardless of whether you got the theme using Git or curl we need to ensure TeX knows where to find the theme packages when we try to use them. We do this by running:
$ texhashAnd we’re good to go.
Using the theme
Using the theme is exactly like using any other Beamer theme: In the preamble of our presentation we simply include the theme with any options we want.
%% Include the theme
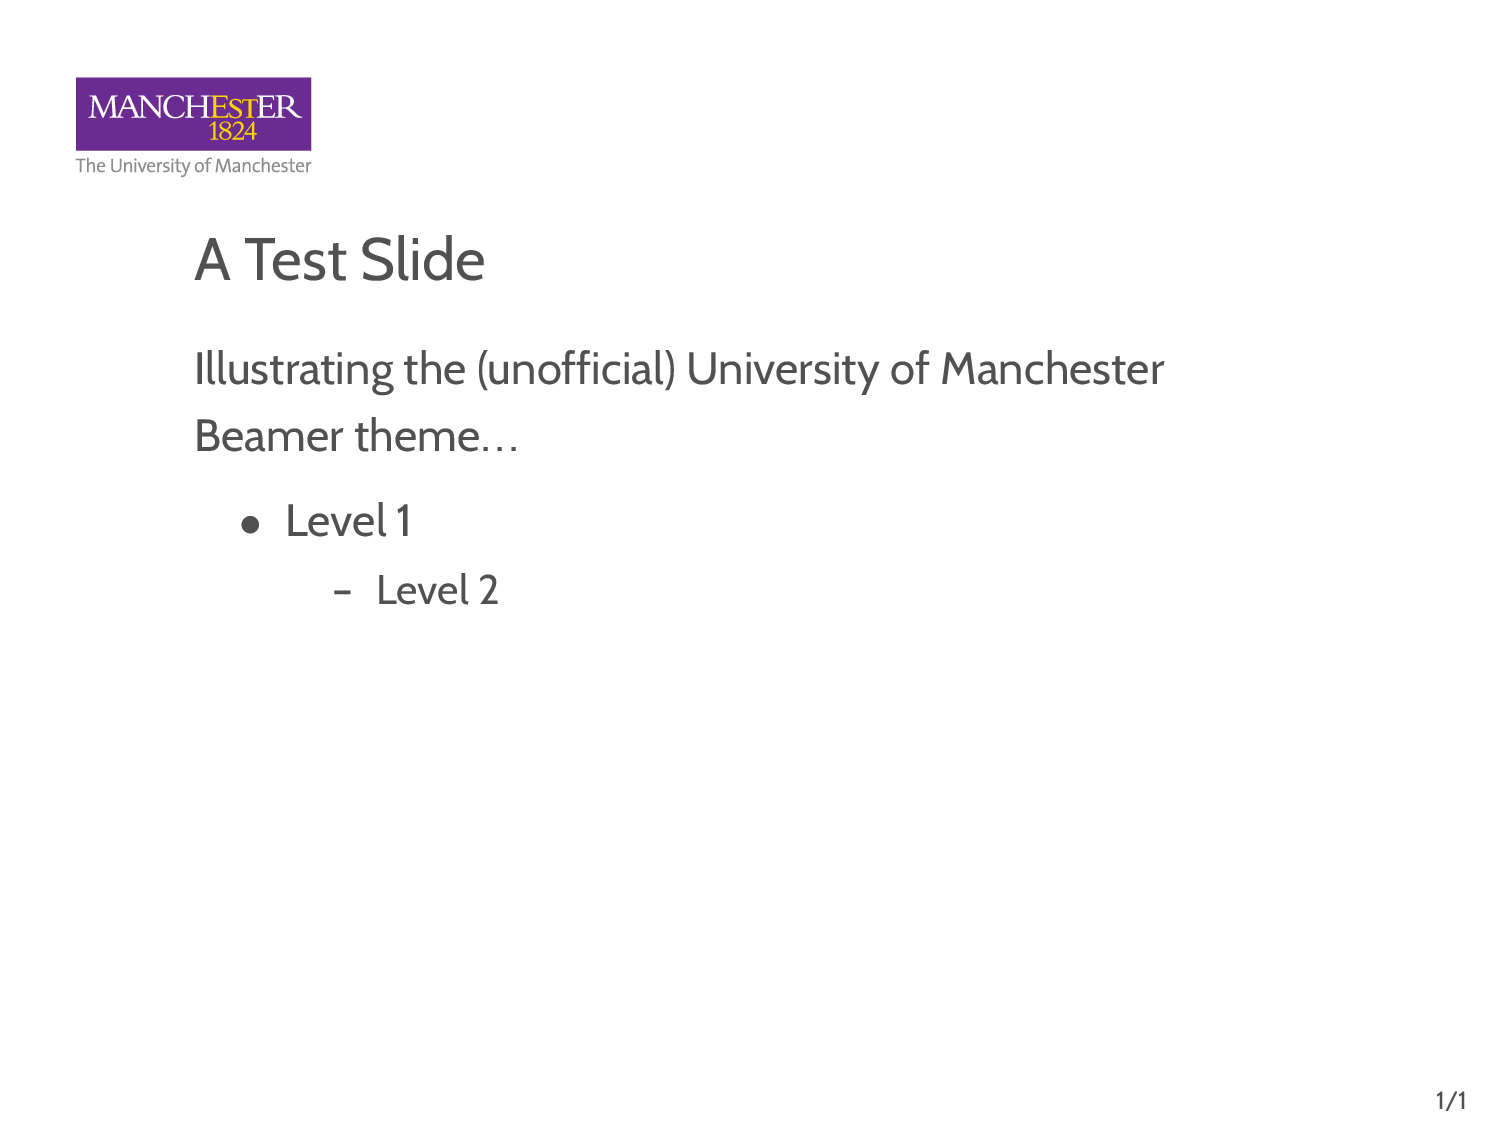
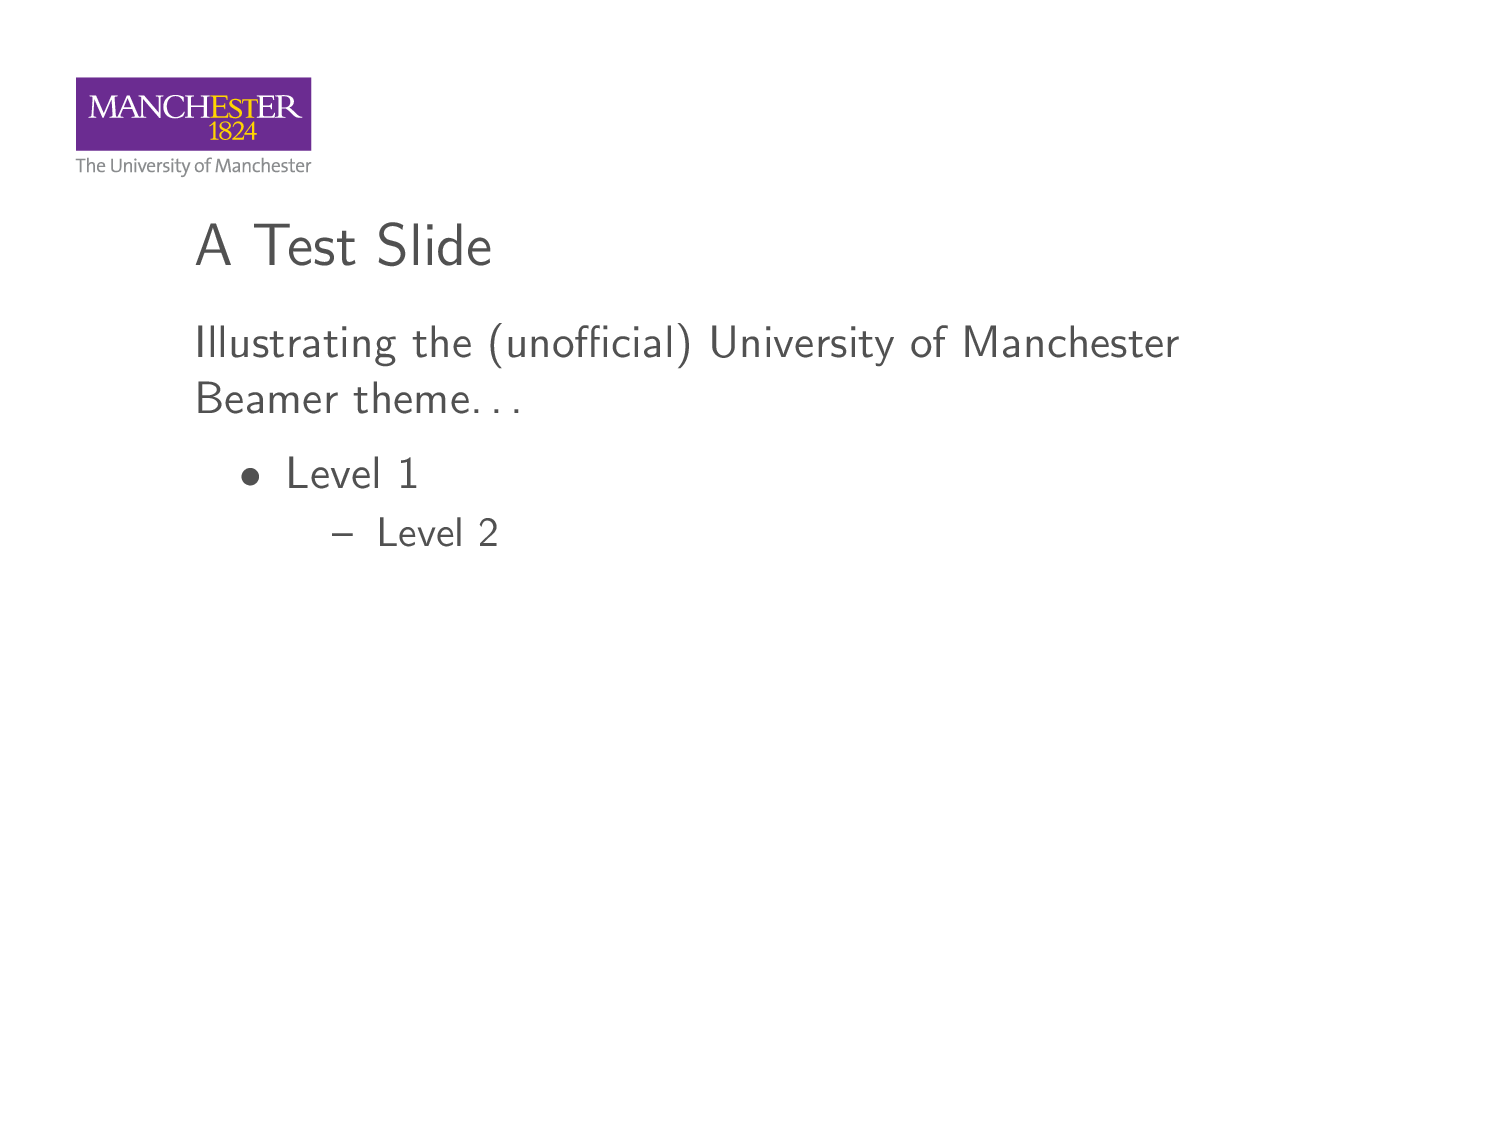
\usetheme{UniversityOfManchester}The code below builds into a very simple presentation, you can download and
build it using (for example) pdflatex.
Resulting in:
You can download the sample presentations with Git:
$ git clone http://gist.github.com/8374201.gitOr with curl:
$ curl -L https://gist.github.com/mundya/8374201/download > sample-presentations.tgz
$ tar -xvzf sample-presentations.tgz
Customisation and options
As the default presentation is rather bland there are some options we can specify when we import the theme that give us rather more control over the final appearance of the presentation. Some of the important ones are:
- dark
- Makes the background of each frame purple and the text white.
- darktitle
- Like the
darkoption, but only affects the title slide. - framenumber
- Display the number of the frame in the bottom right hand corner.
- totalframenumber
- Also display the total frame number in the format
m/n. - titleframestart = 0 [default]
- The frame number of the title slide.
- cabin
- Use the Cabin font instead of Computer Sans Modern. You may need to install the font for this to work.
For example, the following code results in a dark title, frame numbering and the Cabin font.
After running pdflatex twice (to get the frame numbers to work) we get
something like the following:
Installing the Cabin font
If you don’t have a recent version of TeXlive you may need to install the Cabin font from scratch. We need to install a couple of extra packages as well: ifluatex, fontaxes, mweights and finally cabin. Starting a new session in the terminal we begin by downloading, building and installing the packages.
# Switch to the tmp directory
$ cd /tmp/

# Download the packages
$ curl -L http://www.ctan.org/tex-archive/macros/latex/contrib/oberdiek/ifluatex.dtx > ifluatex.dtx
$ curl -L http://mirrors.ctan.org/macros/latex/contrib/fontaxes/fontaxes.dtx > fontaxes.dtx
$ curl -L http://mirrors.ctan.org/macros/latex/contrib/fontaxes/fontaxes.ins > fontaxes.ins
$ curl -L http://mirrors.ctan.org/macros/latex/contrib/mweights/mweights.sty > mweights.sty
$ curl -L http://www.ctan.org/tex-archive/install/fonts/cabin.tds.zip > cabin.tds.zip

# Build the packages
$ tex ifluatex.dtx
$ latex fontaxes.ins
$ unzip cabin.tds.zip -d ~/texmf

# Install the packages
$ mv ifluatex.sty ~/texmf/tex/
$ mv fontaxes.sty ~/texmf/tex/
$ mv mweights.sty ~/texmf/tex/
$ updmap --enable Map=cabin.map
And everything should be done.
Wrapping up
Hopefully this has served as a useful guide to getting the theme installed and working correctly. If there are any problems, don’t hesitate to submit an issue on GitHub.
I’ll be writing a follow up post detailing installation on Windows. At some point I’ll also write up how I manage large LaTeX projects with many sections and diagrams.
Thanks!