Installing the (unofficial) University of Manchester Beamer theme on Windows
Ages ago I promised that I’d provide Windows installation instructions for the (unofficial) University of Manchester Beamer theme that I put together. Well, a year and four months later here we go.
Notes
These instructions assume that (a) you have MikTeX installed, and that (b) you have it set up to pull in additional packages as required.
Setting up a TeX directory
To avoid modifying the system-wide TeX trees we should first create a new
texmf directory in our home directory. For me this was C:\Users\andrew\,
so the new directory is C:\Users\andrew\texmf. This needs to be added to the
list of paths that MikTeX will search. On my machine this entailed accessing
the Start Menu and looking for MikTeX, Maintenance, Settings. Clicking on the
“Paths” tab should result in a dialog like:
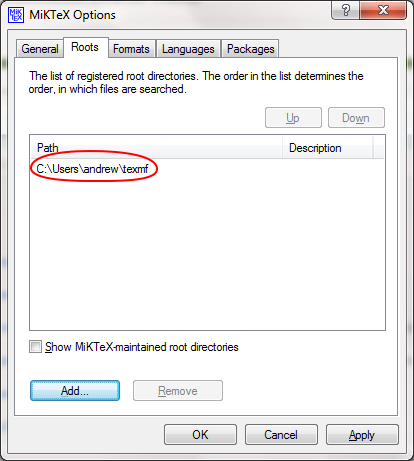
Add the new path, if necessary, to this list by clicking “Add”.
Getting the theme
The theme can either be checked out from Git, or you can download the latest
version from GitHub
directly.
Either way, Beamer is fairly picky about where you put the files: everything
should be placed under texmf\tex\latex\beamer\themes\.
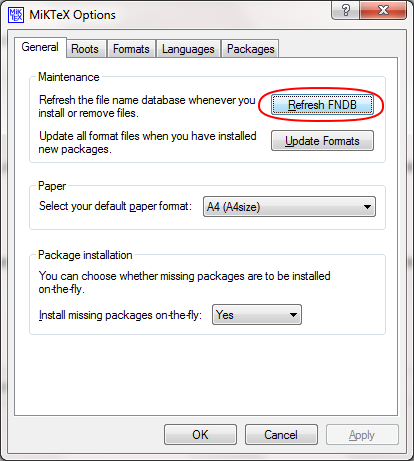
Once you’ve downloaded the theme and placed it in the correct directory you need to get MikTeX to update its file database. To do this, go back to the same Settings tool and click “Refresh FNDB” on the “Maintenance” tab.
Everything should work…
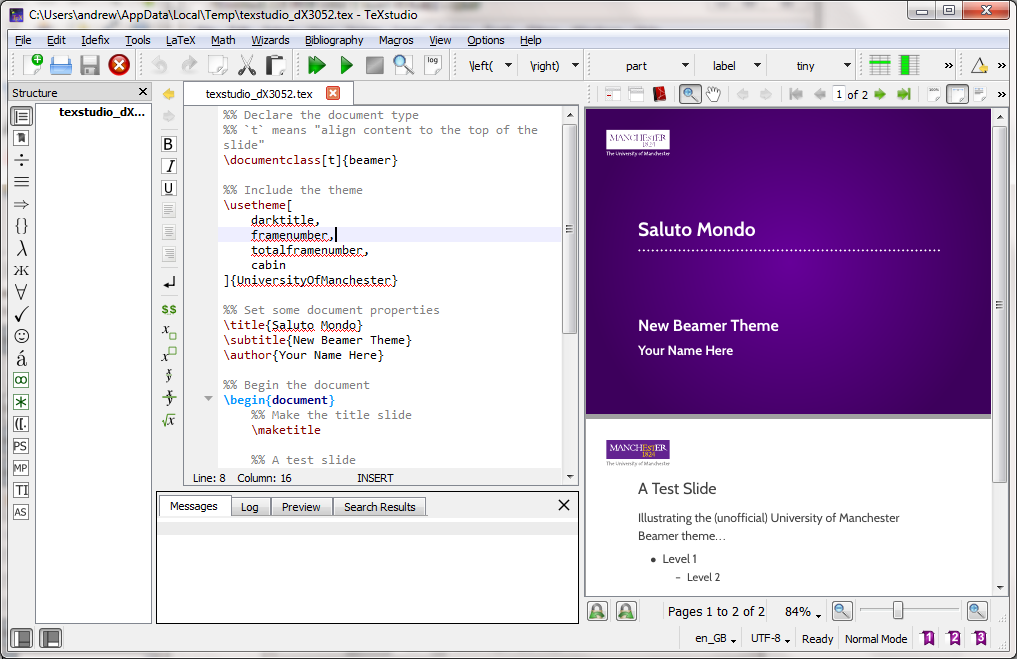
At this point you should be able to use the theme. The sample code below will build into a basic presentation using your preferred LaTeX editor and compiler.
Wrapping up
I’m not a Windows user, so please let me know if there are any problems by submitting an issue on GitHub. I hope that’s of use…